Note: Since this page was created SketchUp has changed ownership from Google to Trimble Navigation Limited. This procedure has not been tested in newer versions of SketchUp.
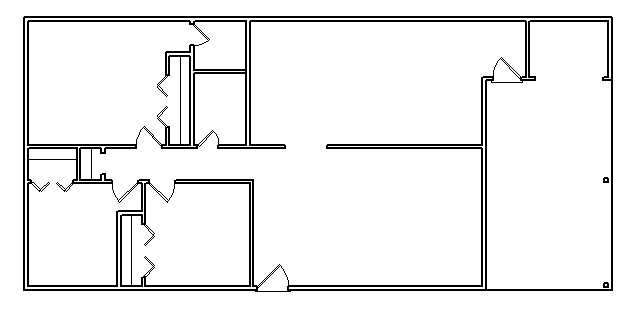
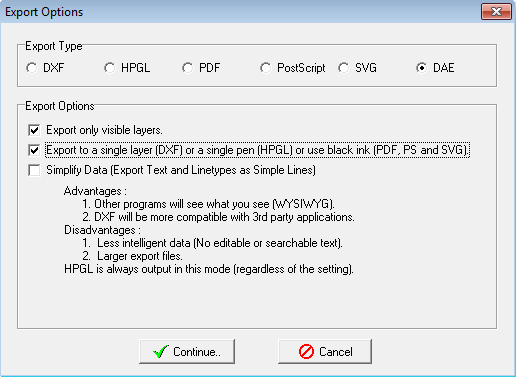
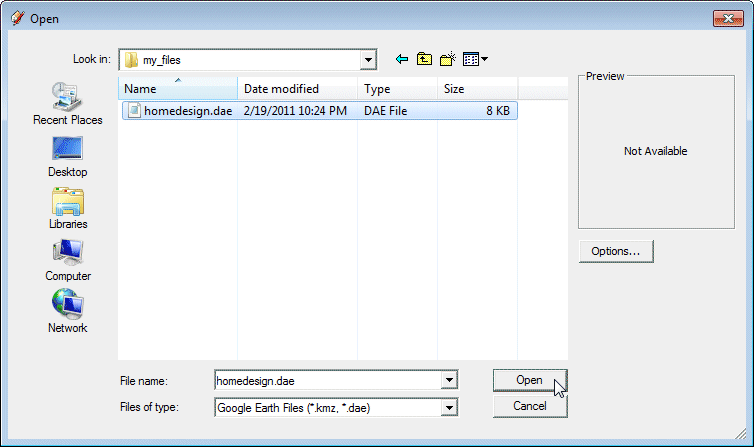
2. Export the floor plan from CadStd as a DAE file (you may skip this step if you are using the homedesign.dae sample file from step 1).
3. Run SketchUp and "File->Import" the DAE file.
4. Select the newly imported data, right mouse click and choose "Explode".

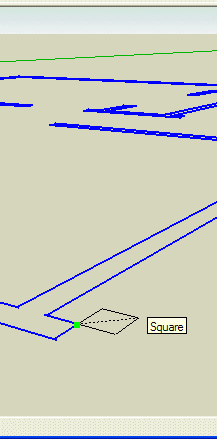
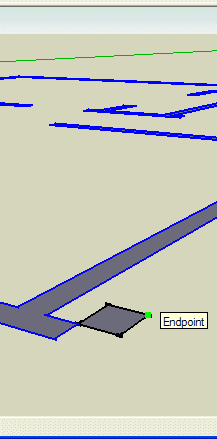
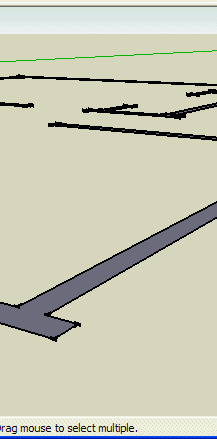
5. Draw a rectangle from the end of one of the wall corners. Notice that the unfilled polyline area also fills in. Erase the new rectangle and its related lines.
 |  |  |
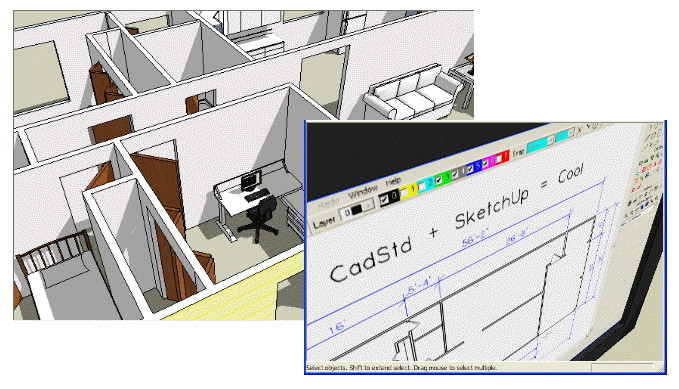
6. Use the push-pull tool extrude the walls to the desired height.
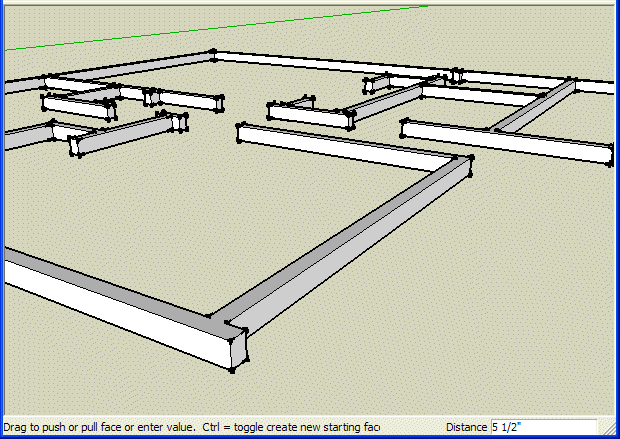
7. After you extrude the walls you can add furniture or even a computer monitor with your favorite program running on it.
8. When you have experimented with your 3D model come back to your 2D CadStd drawing, make your final changes, add dimensions and send the plans off to your city or county for final approval.
